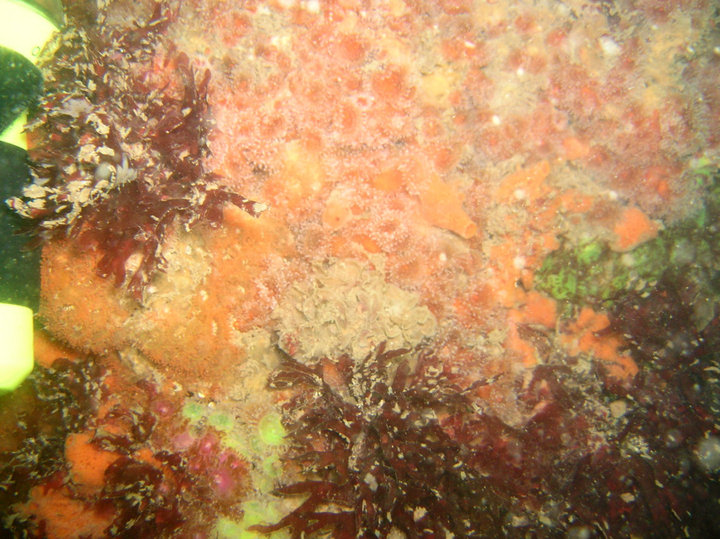
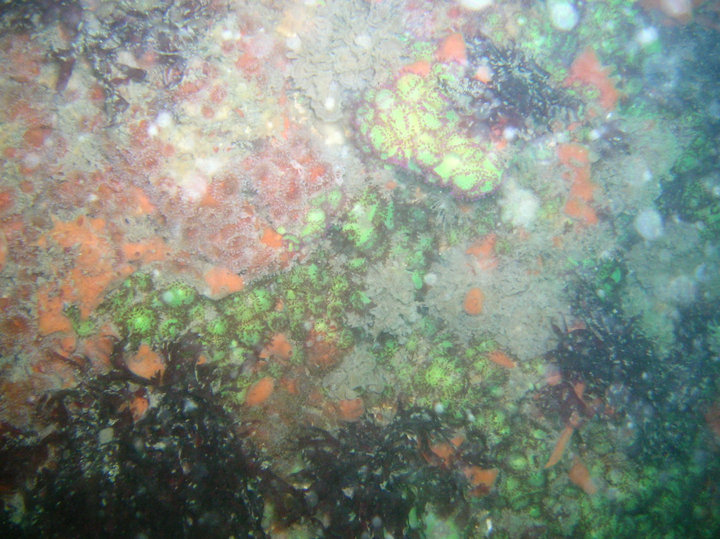
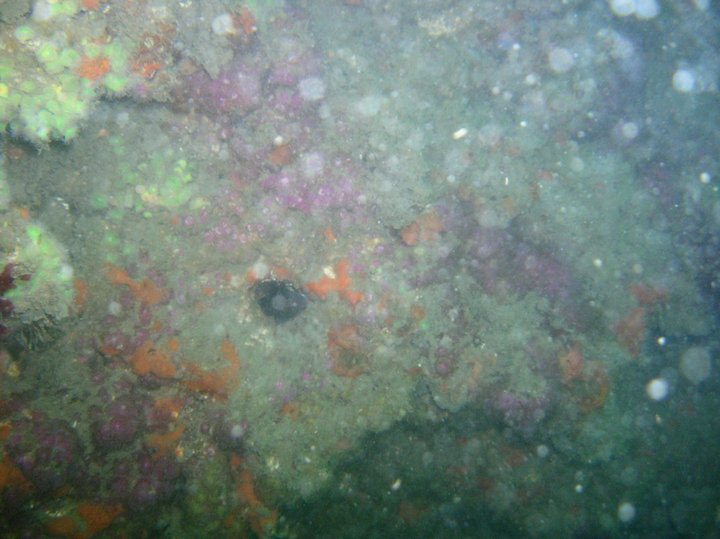
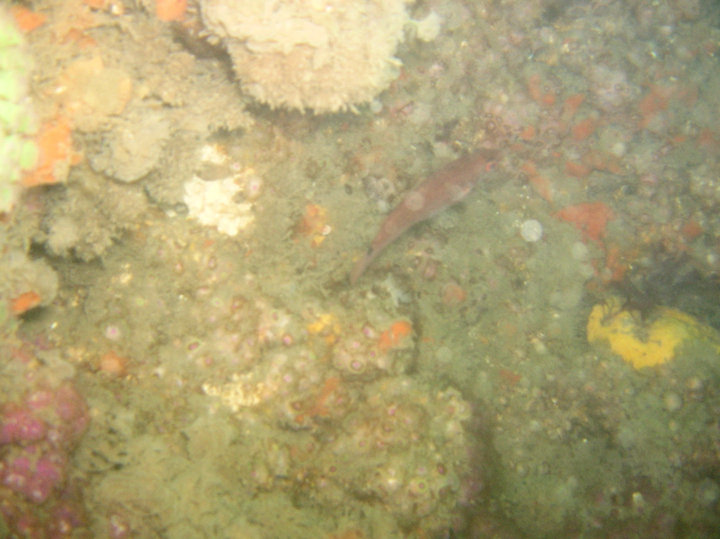
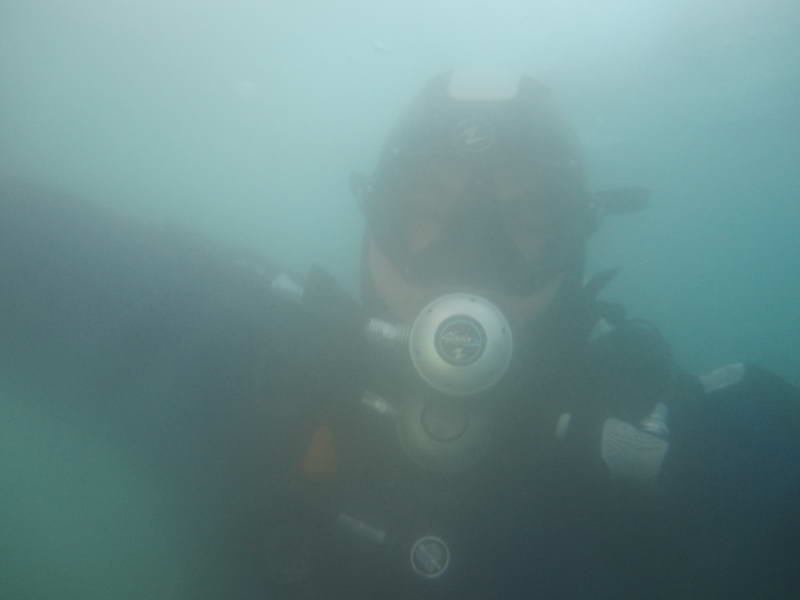
Dive Gallery
Dive Log
|
Dive Gallery
|
Dive Equipment
Dive Countries
|
Dive Cities
|
Dive Sites
Dive Statistics
|
Dive Shops
|
Dive Trips
Dive Gallery
Dive #
1
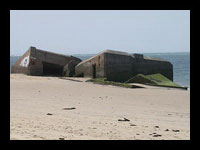
Dive Location:
Les blockhaus de Gaillouneys
Dive #
2
Dive Location:
Les blockhaus de Gaillouneys
Dive #
3
Dive Location:
Les blockhaus de Gaillouneys
Dive #
4
Dive Location:
Le grand banc
Dive #
5
Dive Location:
Hortense
Dive #
6
Dive Location:
Les blockhaus de Gaillouneys
Dive #
7
Dive Location:
Hortense
Dive #
8
Dive Location:
Les Blockhaus de Sabloneys
Dive #
11
Dive Location:
Le grand banc
Dive #
12
Dive Location:
Les blockhaus de Gaillouneys
Dive #
13
Dive Location:
Hortense
Dive #
14
Dive Location:
Le grand banc
Dive #
15
Dive Location:
Le trou Saint-Yves
Dive #
16
Dive Location:
Le Min beau
Dive #
17
Dive Location:
Le trou Saint-Yves
Dive #
18
Dive Location:
Le Chariot
Dive #
19
Dive Location:
Les Blockhaus de Sabloneys
Dive #
20
Dive Location:
Le trou Saint-Yves
Dive #
21
Dive Location:
Le trou Saint-Yves
Dive #
22
Dive Location:
Les blockhaus de Gaillouneys
Dive #
23
Dive Location:
Le trou Saint-Yves
Dive #
24
Dive Location:
Hortense
Dive #
25
Dive Location:
Les Blockhaus de Sabloneys
Dive #
26
Dive Location:
Le trou Saint-Yves
Dive #
30
Dive Location:
Hortense
Dive #
31
Dive Location:
Hortense
Dive #
32
Dive Location:
Le Min beau
Dive #
33
Dive Location:
Les Blockhaus de Sabloneys
Dive #
34
Dive Location:
Le trou Saint-Yves
Dive #
35
Dive Location:
Hortense
Dive #
36
Dive Location:
Le Min beau
Dive #
37
Dive Location:
Le Min beau
Dive #
39
Dive Location:
Hortense
Dive #
40
Dive Location:
Les Blockhaus de Sabloneys
Dive #
42
Dive Location:
Les Blockhaus de Sabloneys
Dive #
43
Dive Location:
Le grand banc
Dive #
44
Dive Location:
Les blockhaus de Gaillouneys
Dive #
45
Dive Location:
Les Blockhaus de Sabloneys
Dive #
46
Dive Location:
Le Min beau
Dive #
48
Dive Location:
Le Chariot
Dive #
51
Dive Location:
Les Blockhaus de Sabloneys
Dive #
54
Dive Location:
Les Blockhaus de Sabloneys
Dive #
62
Dive Location:
Les blockhaus de Gaillouneys
Dive #
63
Dive Location:
Les blockhaus de Gaillouneys
Dive #
64
Dive Location:
Les blockhaus de Gaillouneys
Dive #
66
Dive Location:
La Roche velen
Dive #
67
Dive Location:
Les blockhaus de Gaillouneys
Dive #
68
Dive Location:
Le trou Saint-Yves
Dive #
69
Dive Location:
Hortense
Dive #
73
Dive Location:
Le trou Saint-Yves
Dive #
74
Dive Location:
Hortense
Dive #
75
Dive Location:
Hortense
Dive #
76
Dive Location:
Le Chariot
Dive #
77
Dive Location:
Notre Dame
Dive #
77
Dive Location:
Notre Dame
Dive #
77
Dive Location:
Notre Dame
Dive #
77
Dive Location:
Notre Dame
Dive #
78
Dive Location:
Les blockhaus de Gaillouneys
Dive #
103
Dive Location:
Le Chariot
Dive #
104
Dive Location:
La Belle aventure
Dive #
105
Dive Location:
Hortense
Dive #
106
Dive Location:
La patate de thierry
Dive #
106
Dive Location:
La patate de thierry
Dive #
106
Dive Location:
La patate de thierry
Dive #
106
Dive Location:
La patate de thierry
Dive #
106
Dive Location:
La patate de thierry
Dive #
106
Dive Location:
La patate de thierry
Dive #
106
Dive Location:
La patate de thierry
Dive #
106
Dive Location:
La patate de thierry
Dive #
106
Dive Location:
La patate de thierry
Dive #
106
Dive Location:
La patate de thierry
Dive #
106
Dive Location:
La patate de thierry
Dive #
106
Dive Location:
La patate de thierry
Dive #
106
Dive Location:
La patate de thierry
Dive #
106
Dive Location:
La patate de thierry
Dive #
106
Dive Location:
La patate de thierry
Dive #
106
Dive Location:
La patate de thierry
Dive #
106
Dive Location:
La patate de thierry
Dive #
106
Dive Location:
La patate de thierry
Dive #
106
Dive Location:
La patate de thierry
Dive #
106
Dive Location:
La patate de thierry
Dive #
106
Dive Location:
La patate de thierry
Dive #
106
Dive Location:
La patate de thierry
Dive #
106
Dive Location:
La patate de thierry
Dive #
106
Dive Location:
La patate de thierry
Dive #
106
Dive Location:
La patate de thierry
Dive #
106
Dive Location:
La patate de thierry
Dive #
106
Dive Location:
La patate de thierry
Dive #
106
Dive Location:
La patate de thierry
Dive #
106
Dive Location:
La patate de thierry
Dive #
106
Dive Location:
La patate de thierry
Dive #
106
Dive Location:
La patate de thierry
Dive #
106
Dive Location:
La patate de thierry
Dive #
106
Dive Location:
La patate de thierry
Dive #
106
Dive Location:
La patate de thierry
Dive #
106
Dive Location:
La patate de thierry
Dive #
106
Dive Location:
La patate de thierry
Dive #
106
Dive Location:
La patate de thierry
Dive #
106
Dive Location:
La patate de thierry
Dive #
106
Dive Location:
La patate de thierry
Dive #
106
Dive Location:
La patate de thierry
Dive #
106
Dive Location:
La patate de thierry
Dive #
106
Dive Location:
La patate de thierry
Dive #
106
Dive Location:
La patate de thierry
Dive #
106
Dive Location:
La patate de thierry
Dive #
106
Dive Location:
La patate de thierry
Dive #
106
Dive Location:
La patate de thierry
Dive #
106
Dive Location:
La patate de thierry
Dive #
106
Dive Location:
La patate de thierry
Dive #
106
Dive Location:
La patate de thierry
Dive #
106
Dive Location:
La patate de thierry
Dive #
106
Dive Location:
La patate de thierry
Dive #
106
Dive Location:
La patate de thierry
Dive #
106
Dive Location:
La patate de thierry
Dive #
106
Dive Location:
La patate de thierry
Dive #
106
Dive Location:
La patate de thierry
Dive #
106
Dive Location:
La patate de thierry
Dive #
106
Dive Location:
La patate de thierry
Dive #
106
Dive Location:
La patate de thierry
Dive #
106
Dive Location:
La patate de thierry
Dive #
106
Dive Location:
La patate de thierry
Dive #
113
Dive Location:
Lion de mer
Dive #
113
Dive Location:
Lion de mer
Dive #
113
Dive Location:
Lion de mer
Dive #
113
Dive Location:
Lion de mer
Dive #
113
Dive Location:
Lion de mer
Dive #
113
Dive Location:
Lion de mer
Dive #
113
Dive Location:
Lion de mer
Dive #
116
Dive Location:
Lion de mer
Dive #
116
Dive Location:
Lion de mer
Dive #
116
Dive Location:
Lion de mer
Dive #
136
Dive Location:
Hortense
Dive #
136
Dive Location:
Hortense
Dive #
136
Dive Location:
Hortense
Dive #
136
Dive Location:
Hortense
Dive #
136
Dive Location:
Hortense
Dive #
136
Dive Location:
Hortense
Dive #
136
Dive Location:
Hortense
Dive #
136
Dive Location:
Hortense
Dive #
136
Dive Location:
Hortense
Dive #
136
Dive Location:
Hortense
Dive #
136
Dive Location:
Hortense
Dive #
136
Dive Location:
Hortense
Dive #
136
Dive Location:
Hortense
Dive #
136
Dive Location:
Hortense
Dive #
136
Dive Location:
Hortense
Dive #
136
Dive Location:
Hortense
Dive #
136
Dive Location:
Hortense
Dive #
136
Dive Location:
Hortense
Dive #
136
Dive Location:
Hortense
Dive #
136
Dive Location:
Hortense
Dive #
136
Dive Location:
Hortense
Dive #
136
Dive Location:
Hortense
Dive #
136
Dive Location:
Hortense
Dive #
136
Dive Location:
Hortense
Dive #
136
Dive Location:
Hortense
Dive #
136
Dive Location:
Hortense
Dive #
136
Dive Location:
Hortense
Dive #
136
Dive Location:
Hortense
Dive #
136
Dive Location:
Hortense
Dive #
136
Dive Location:
Hortense
Dive #
136
Dive Location:
Hortense
Dive #
136
Dive Location:
Hortense
Dive #
136
Dive Location:
Hortense
Dive #
137
Dive Location:
Hortense
Dive #
137
Dive Location:
Hortense
Dive #
137
Dive Location:
Hortense
Dive #
137
Dive Location:
Hortense
Dive #
137
Dive Location:
Hortense
Dive #
137
Dive Location:
Hortense
Dive #
137
Dive Location:
Hortense
Dive #
137
Dive Location:
Hortense
Dive #
137
Dive Location:
Hortense
Dive #
137
Dive Location:
Hortense
Dive #
137
Dive Location:
Hortense
Dive #
137
Dive Location:
Hortense
Dive #
137
Dive Location:
Hortense
Dive #
137
Dive Location:
Hortense
Dive #
137
Dive Location:
Hortense
Dive #
137
Dive Location:
Hortense
Dive #
137
Dive Location:
Hortense
Dive #
137
Dive Location:
Hortense
Dive #
137
Dive Location:
Hortense
Dive #
137
Dive Location:
Hortense
Dive #
137
Dive Location:
Hortense
Dive #
137
Dive Location:
Hortense
Dive #
165
Dive Location:
Les blockhaus de Gaillouneys
Dive #
165
Dive Location:
Les blockhaus de Gaillouneys
Dive #
165
Dive Location:
Les blockhaus de Gaillouneys
Dive #
165
Dive Location:
Les blockhaus de Gaillouneys
Dive #
165
Dive Location:
Les blockhaus de Gaillouneys
Dive #
165
Dive Location:
Les blockhaus de Gaillouneys
Dive #
165
Dive Location:
Les blockhaus de Gaillouneys
Dive #
165
Dive Location:
Les blockhaus de Gaillouneys
Dive #
165
Dive Location:
Les blockhaus de Gaillouneys
Dive #
165
Dive Location:
Les blockhaus de Gaillouneys
Dive #
165
Dive Location:
Les blockhaus de Gaillouneys
Dive #
165
Dive Location:
Les blockhaus de Gaillouneys
Dive #
165
Dive Location:
Les blockhaus de Gaillouneys
Dive #
165
Dive Location:
Les blockhaus de Gaillouneys
Dive #
165
Dive Location:
Les blockhaus de Gaillouneys
Dive #
165
Dive Location:
Les blockhaus de Gaillouneys
Dive #
165
Dive Location:
Les blockhaus de Gaillouneys
Dive #
165
Dive Location:
Les blockhaus de Gaillouneys
Dive #
165
Dive Location:
Les blockhaus de Gaillouneys
Dive #
165
Dive Location:
Les blockhaus de Gaillouneys
Dive #
165
Dive Location:
Les blockhaus de Gaillouneys
Dive #
166
Dive Location:
Les blockhaus de Gaillouneys
Dive #
166
Dive Location:
Les blockhaus de Gaillouneys
Dive #
166
Dive Location:
Les blockhaus de Gaillouneys
Dive #
166
Dive Location:
Les blockhaus de Gaillouneys
Dive #
166
Dive Location:
Les blockhaus de Gaillouneys
Dive #
166
Dive Location:
Les blockhaus de Gaillouneys
Dive #
166
Dive Location:
Les blockhaus de Gaillouneys
Dive #
166
Dive Location:
Les blockhaus de Gaillouneys
Dive #
166
Dive Location:
Les blockhaus de Gaillouneys
Dive #
166
Dive Location:
Les blockhaus de Gaillouneys
Dive #
166
Dive Location:
Les blockhaus de Gaillouneys
Dive #
166
Dive Location:
Les blockhaus de Gaillouneys
Dive #
166
Dive Location:
Les blockhaus de Gaillouneys
Dive #
166
Dive Location:
Les blockhaus de Gaillouneys
Dive #
166
Dive Location:
Les blockhaus de Gaillouneys
Dive #
166
Dive Location:
Les blockhaus de Gaillouneys
Dive #
166
Dive Location:
Les blockhaus de Gaillouneys
Dive #
166
Dive Location:
Les blockhaus de Gaillouneys
Dive #
166
Dive Location:
Les blockhaus de Gaillouneys
Dive #
166
Dive Location:
Les blockhaus de Gaillouneys
Dive #
166
Dive Location:
Les blockhaus de Gaillouneys
Dive #
167
Dive Location:
Le Chariot
Dive #
167
Dive Location:
Le Chariot
Dive #
167
Dive Location:
Le Chariot
Dive #
167
Dive Location:
Le Chariot
Dive #
167
Dive Location:
Le Chariot
Dive #
167
Dive Location:
Le Chariot
Dive #
167
Dive Location:
Le Chariot
Dive #
167
Dive Location:
Le Chariot
Dive #
167
Dive Location:
Le Chariot
Dive #
167
Dive Location:
Le Chariot
Dive #
167
Dive Location:
Le Chariot
Dive #
167
Dive Location:
Le Chariot
Dive #
167
Dive Location:
Le Chariot
Dive #
167
Dive Location:
Le Chariot
Dive #
167
Dive Location:
Le Chariot
Dive #
167
Dive Location:
Le Chariot
Dive #
167
Dive Location:
Le Chariot
Dive #
167
Dive Location:
Le Chariot
Dive #
167
Dive Location:
Le Chariot
Dive #
167
Dive Location:
Le Chariot
Dive #
167
Dive Location:
Le Chariot
Dive #
167
Dive Location:
Le Chariot
Dive #
167
Dive Location:
Le Chariot
Dive #
167
Dive Location:
Le Chariot
Dive #
167
Dive Location:
Le Chariot
Dive #
167
Dive Location:
Le Chariot
Dive #
167
Dive Location:
Le Chariot
Dive #
191
Dive Location:
La Grotte a corail
Dive #
191
Dive Location:
La Grotte a corail
Dive #
191
Dive Location:
La Grotte a corail
Dive #
191
Dive Location:
La Grotte a corail
Dive #
191
Dive Location:
La Grotte a corail
Dive #
191
Dive Location:
La Grotte a corail
Dive #
191
Dive Location:
La Grotte a corail
Dive #
191
Dive Location:
La Grotte a corail
Dive #
191
Dive Location:
La Grotte a corail
Dive #
191
Dive Location:
La Grotte a corail
Dive #
191
Dive Location:
La Grotte a corail
Dive #
191
Dive Location:
La Grotte a corail
Dive #
191
Dive Location:
La Grotte a corail
Dive #
191
Dive Location:
La Grotte a corail
Dive #
191
Dive Location:
La Grotte a corail
Dive #
191
Dive Location:
La Grotte a corail
Dive #
191
Dive Location:
La Grotte a corail
Dive #
191
Dive Location:
La Grotte a corail
Dive #
191
Dive Location:
La Grotte a corail
Dive #
191
Dive Location:
La Grotte a corail
Dive #
191
Dive Location:
La Grotte a corail
Dive #
191
Dive Location:
La Grotte a corail
Dive #
191
Dive Location:
La Grotte a corail
Dive #
191
Dive Location:
La Grotte a corail
Dive #
191
Dive Location:
La Grotte a corail
Dive #
191
Dive Location:
La Grotte a corail
Dive #
191
Dive Location:
La Grotte a corail
Dive #
191
Dive Location:
La Grotte a corail
Dive #
191
Dive Location:
La Grotte a corail
Dive #
191
Dive Location:
La Grotte a corail
Dive #
191
Dive Location:
La Grotte a corail
Dive #
191
Dive Location:
La Grotte a corail
Dive #
191
Dive Location:
La Grotte a corail
Dive #
191
Dive Location:
La Grotte a corail
Dive #
191
Dive Location:
La Grotte a corail
Dive #
191
Dive Location:
La Grotte a corail
Dive #
191
Dive Location:
La Grotte a corail
Dive #
191
Dive Location:
La Grotte a corail
Dive #
191
Dive Location:
La Grotte a corail
Dive #
191
Dive Location:
La Grotte a corail
Dive #
191
Dive Location:
La Grotte a corail
Dive #
191
Dive Location:
La Grotte a corail
Dive #
191
Dive Location:
La Grotte a corail
Dive #
191
Dive Location:
La Grotte a corail
Dive #
191
Dive Location:
La Grotte a corail
Dive #
191
Dive Location:
La Grotte a corail
Dive #
191
Dive Location:
La Grotte a corail
Dive #
191
Dive Location:
La Grotte a corail
Dive #
191
Dive Location:
La Grotte a corail
Dive #
191
Dive Location:
La Grotte a corail
Dive #
191
Dive Location:
La Grotte a corail
Dive #
191
Dive Location:
La Grotte a corail
Dive #
191
Dive Location:
La Grotte a corail
Dive #
191
Dive Location:
La Grotte a corail
Dive #
191
Dive Location:
La Grotte a corail
Dive #
191
Dive Location:
La Grotte a corail
Dive #
191
Dive Location:
La Grotte a corail
Dive #
191
Dive Location:
La Grotte a corail
Dive #
191
Dive Location:
La Grotte a corail
Dive #
191
Dive Location:
La Grotte a corail
Dive #
191
Dive Location:
La Grotte a corail
Dive #
191
Dive Location:
La Grotte a corail
Dive #
191
Dive Location:
La Grotte a corail
Dive #
191
Dive Location:
La Grotte a corail
Dive #
191
Dive Location:
La Grotte a corail
Dive #
191
Dive Location:
La Grotte a corail
Dive #
191
Dive Location:
La Grotte a corail
Dive #
191
Dive Location:
La Grotte a corail
Dive #
191
Dive Location:
La Grotte a corail
Dive #
191
Dive Location:
La Grotte a corail
Dive #
191
Dive Location:
La Grotte a corail
Dive #
191
Dive Location:
La Grotte a corail
Dive #
191
Dive Location:
La Grotte a corail
Dive #
191
Dive Location:
La Grotte a corail
Dive #
193
Dive Location:
Le Chariot
Dive #
193
Dive Location:
Le Chariot
Dive #
193
Dive Location:
Le Chariot
Dive #
194
Dive Location:
Les blockhaus de Gaillouneys
Dive #
194
Dive Location:
Les blockhaus de Gaillouneys
Dive #
194
Dive Location:
Les blockhaus de Gaillouneys
Dive #
194
Dive Location:
Les blockhaus de Gaillouneys
Dive #
194
Dive Location:
Les blockhaus de Gaillouneys
Dive #
194
Dive Location:
Les blockhaus de Gaillouneys
Dive #
194
Dive Location:
Les blockhaus de Gaillouneys
Dive #
194
Dive Location:
Les blockhaus de Gaillouneys
Dive #
194
Dive Location:
Les blockhaus de Gaillouneys
Dive #
194
Dive Location:
Les blockhaus de Gaillouneys
Dive #
194
Dive Location:
Les blockhaus de Gaillouneys
Dive #
194
Dive Location:
Les blockhaus de Gaillouneys
Dive #
194
Dive Location:
Les blockhaus de Gaillouneys
Dive #
194
Dive Location:
Les blockhaus de Gaillouneys
Dive #
194
Dive Location:
Les blockhaus de Gaillouneys
Dive #
194
Dive Location:
Les blockhaus de Gaillouneys
Dive #
194
Dive Location:
Les blockhaus de Gaillouneys
Dive #
194
Dive Location:
Les blockhaus de Gaillouneys
Dive #
194
Dive Location:
Les blockhaus de Gaillouneys
Dive #
194
Dive Location:
Les blockhaus de Gaillouneys
Dive #
194
Dive Location:
Les blockhaus de Gaillouneys
Dive #
196
Dive Location:
La Laquette
Dive #
196
Dive Location:
La Laquette
Dive #
196
Dive Location:
La Laquette
Dive #
196
Dive Location:
La Laquette
Dive #
196
Dive Location:
La Laquette
Dive #
196
Dive Location:
La Laquette
Dive #
196
Dive Location:
La Laquette
Dive #
196
Dive Location:
La Laquette
Dive #
196
Dive Location:
La Laquette
Dive #
196
Dive Location:
La Laquette
Dive #
196
Dive Location:
La Laquette
Dive #
196
Dive Location:
La Laquette
Dive #
196
Dive Location:
La Laquette
Dive #
196
Dive Location:
La Laquette
Dive #
196
Dive Location:
La Laquette
Dive #
196
Dive Location:
La Laquette
Dive #
196
Dive Location:
La Laquette
Dive #
196
Dive Location:
La Laquette
Dive #
196
Dive Location:
La Laquette
Dive #
196
Dive Location:
La Laquette
Dive #
196
Dive Location:
La Laquette
Dive #
196
Dive Location:
La Laquette
Dive #
196
Dive Location:
La Laquette
Dive #
200
Dive Location:
Lion de mer
mf1_01.jpg
Dive #
200
Dive Location:
Lion de mer
mf1_02.jpg
Dive #
200
Dive Location:
Lion de mer
mf1_03.jpg
Dive #
200
Dive Location:
Lion de mer
mf1_04.jpg
Dive #
200
Dive Location:
Lion de mer
mf1_05.jpg
Dive #
200
Dive Location:
Lion de mer
mf1_06.jpg
Dive #
200
Dive Location:
Lion de mer
mf1_07.jpg
Dive #
200
Dive Location:
Lion de mer
mf1_08.jpg
Dive #
200
Dive Location:
Lion de mer
mf1_09.jpg
Dive #
200
Dive Location:
Lion de mer
mf1_10.jpg
Dive #
200
Dive Location:
Lion de mer
mf1_11.jpg
Dive #
200
Dive Location:
Lion de mer
mf1_12.jpg
Dive #
200
Dive Location:
Lion de mer
mf1_13.jpg
Dive #
200
Dive Location:
Lion de mer
mf1_14.jpg
Dive #
200
Dive Location:
Lion de mer
mf1_15.jpg
Dive #
200
Dive Location:
Lion de mer
mf1_16.jpg
Dive #
200
Dive Location:
Lion de mer
mf1_17.jpg
Dive #
200
Dive Location:
Lion de mer
mf1_18.jpg
Dive #
200
Dive Location:
Lion de mer
mf1_19.jpg
Dive #
200
Dive Location:
Lion de mer
mf1_20.jpg
Dive #
200
Dive Location:
Lion de mer
mf1_21.jpg
Dive #
200
Dive Location:
Lion de mer
mf1_22.jpg
Dive #
200
Dive Location:
Lion de mer
mf1_23.jpg
Dive #
200
Dive Location:
Lion de mer
mf1_24.jpg
Dive #
200
Dive Location:
Lion de mer
mf1_25.jpg
Dive #
200
Dive Location:
Lion de mer
mf1_26.jpg
Dive #
200
Dive Location:
Lion de mer
mf1_27.jpg
Dive #
200
Dive Location:
Lion de mer
mf1_28.jpg
Dive #
200
Dive Location:
Lion de mer
mf1_29.jpg
Dive #
200
Dive Location:
Lion de mer
mf1_30.jpg
Dive #
200
Dive Location:
Lion de mer
mf1_31.jpg
Dive #
200
Dive Location:
Lion de mer
mf1_32.jpg
Dive #
200
Dive Location:
Lion de mer
mf1_33.jpg
Dive #
200
Dive Location:
Lion de mer
mf1_34.jpg
Dive #
200
Dive Location:
Lion de mer
mf1_35.jpg
Dive #
200
Dive Location:
Lion de mer
mf1_36.jpg
Dive #
200
Dive Location:
Lion de mer
mf1_37.jpg
Dive #
200
Dive Location:
Lion de mer
mf1_38.jpg
Dive #
200
Dive Location:
Lion de mer
mf1_39.jpg
Dive #
200
Dive Location:
Lion de mer
mf1_40.jpg
Dive #
200
Dive Location:
Lion de mer
mf1_41.jpg
Dive #
200
Dive Location:
Lion de mer
mf1_42.jpg
Dive #
200
Dive Location:
Lion de mer
mf1_43.jpg
Dive #
200
Dive Location:
Lion de mer
mf1_44.jpg
Dive #
200
Dive Location:
Lion de mer
mf1_45.jpg
Dive #
200
Dive Location:
Lion de mer
mf1_46.jpg
Dive #
200
Dive Location:
Lion de mer
mf1_47.jpg
Dive #
200
Dive Location:
Lion de mer
mf1_48.jpg
Dive #
200
Dive Location:
Lion de mer
mf1_49.jpg
Dive #
200
Dive Location:
Lion de mer
mf1_50.jpg
Dive #
200
Dive Location:
Lion de mer
mf1_51.jpg
Dive #
200
Dive Location:
Lion de mer
mf1_52.jpg
Dive #
200
Dive Location:
Lion de mer
mf1_53.jpg
Dive #
200
Dive Location:
Lion de mer
mf1_54.jpg
Dive #
200
Dive Location:
Lion de mer
mf1_55.jpg
Dive #
200
Dive Location:
Lion de mer
mf1_56.jpg
Dive #
200
Dive Location:
Lion de mer
mf1_57.jpg
Dive #
200
Dive Location:
Lion de mer
mf1_58.jpg
Dive #
200
Dive Location:
Lion de mer
mf1_59.jpg
Dive #
200
Dive Location:
Lion de mer
mf1_60.jpg
Dive #
200
Dive Location:
Lion de mer
mf1_61.jpg
Dive #
200
Dive Location:
Lion de mer
mf1_62.jpg
Dive #
200
Dive Location:
Lion de mer
mf1_63.jpg
Dive #
200
Dive Location:
Lion de mer
mf1_64.jpg
Dive #
200
Dive Location:
Lion de mer
mf1_65.jpg
Dive #
200
Dive Location:
Lion de mer
mf1_66.jpg
Dive #
200
Dive Location:
Lion de mer
mf1_67.jpg
Dive #
200
Dive Location:
Lion de mer
mf1_68.jpg
Dive #
200
Dive Location:
Lion de mer
mf1_69.jpg
Dive #
200
Dive Location:
Lion de mer
mf1_70.jpg
Dive #
200
Dive Location:
Lion de mer
mf1_71.jpg
Dive #
200
Dive Location:
Lion de mer
mf1_72.jpg
Dive #
200
Dive Location:
Lion de mer
mf1_73.jpg
Dive #
200
Dive Location:
Lion de mer
jury_mf1.jpg
Dive #
201
Dive Location:
Le Sec des Suisses
moniteur_1.jpg
Dive #
201
Dive Location:
Le Sec des Suisses
moniteur_2.jpg
Dive #
201
Dive Location:
Le Sec des Suisses
moniteur_3.jpg
Dive #
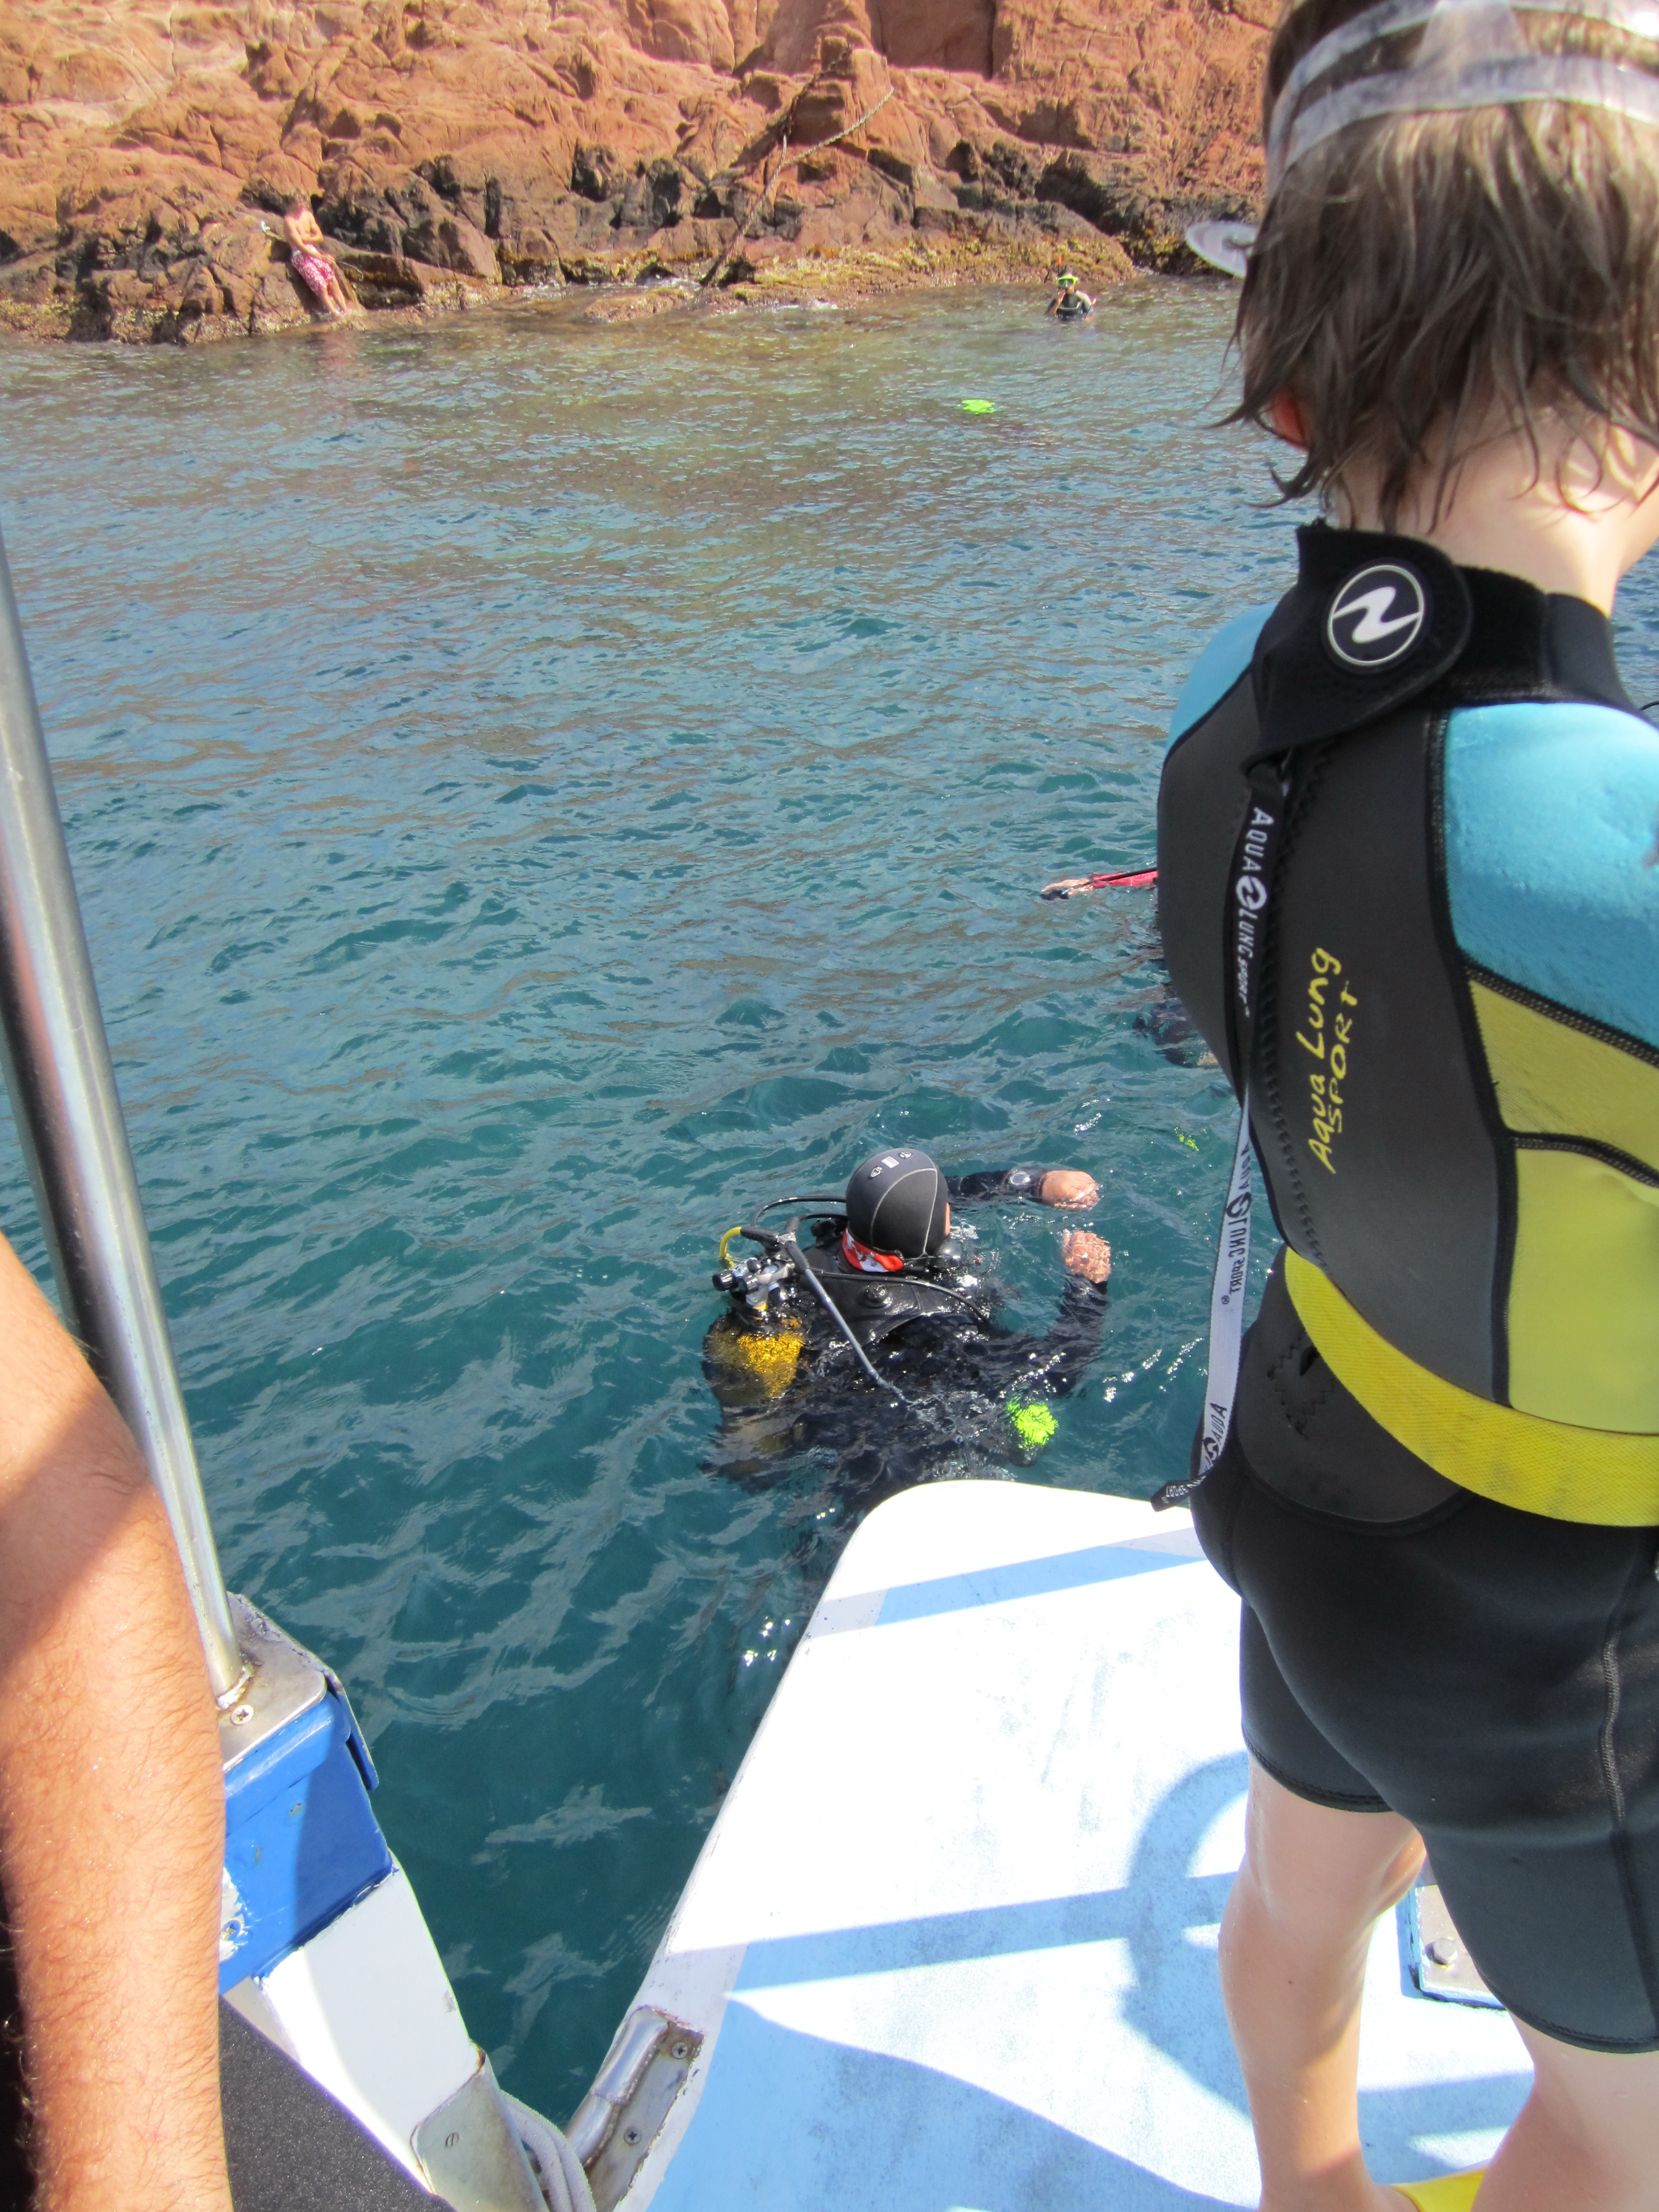
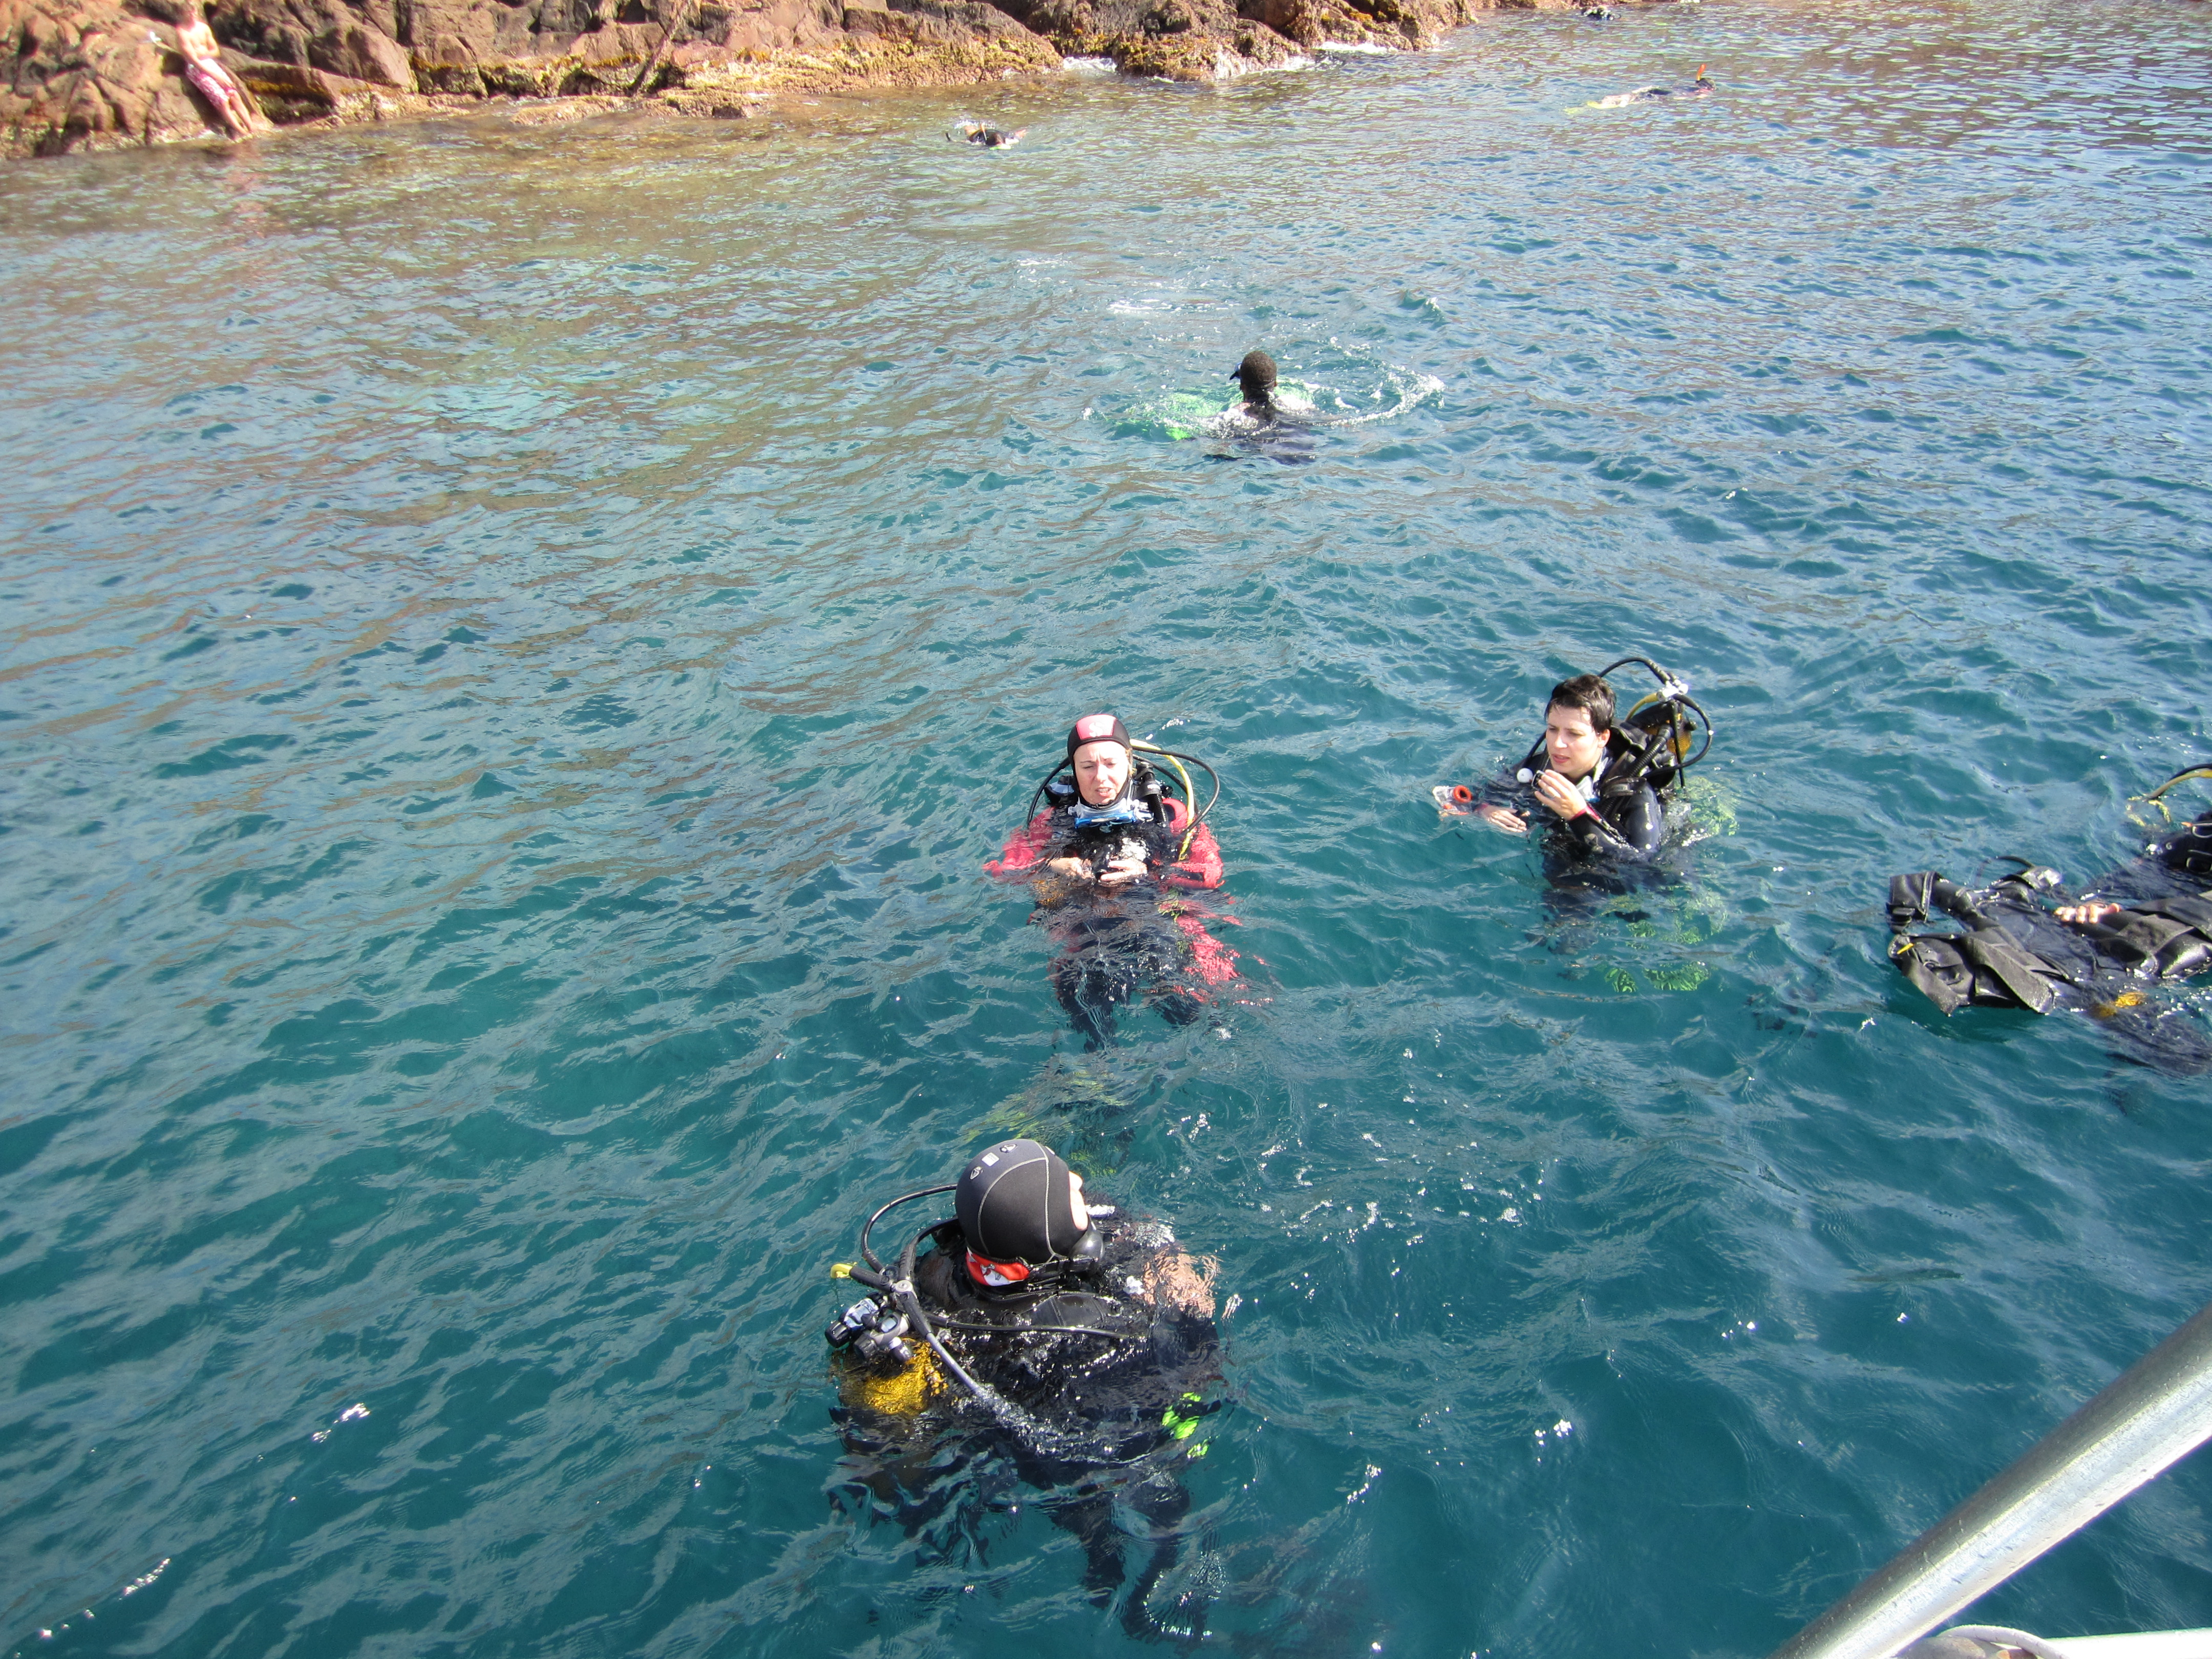
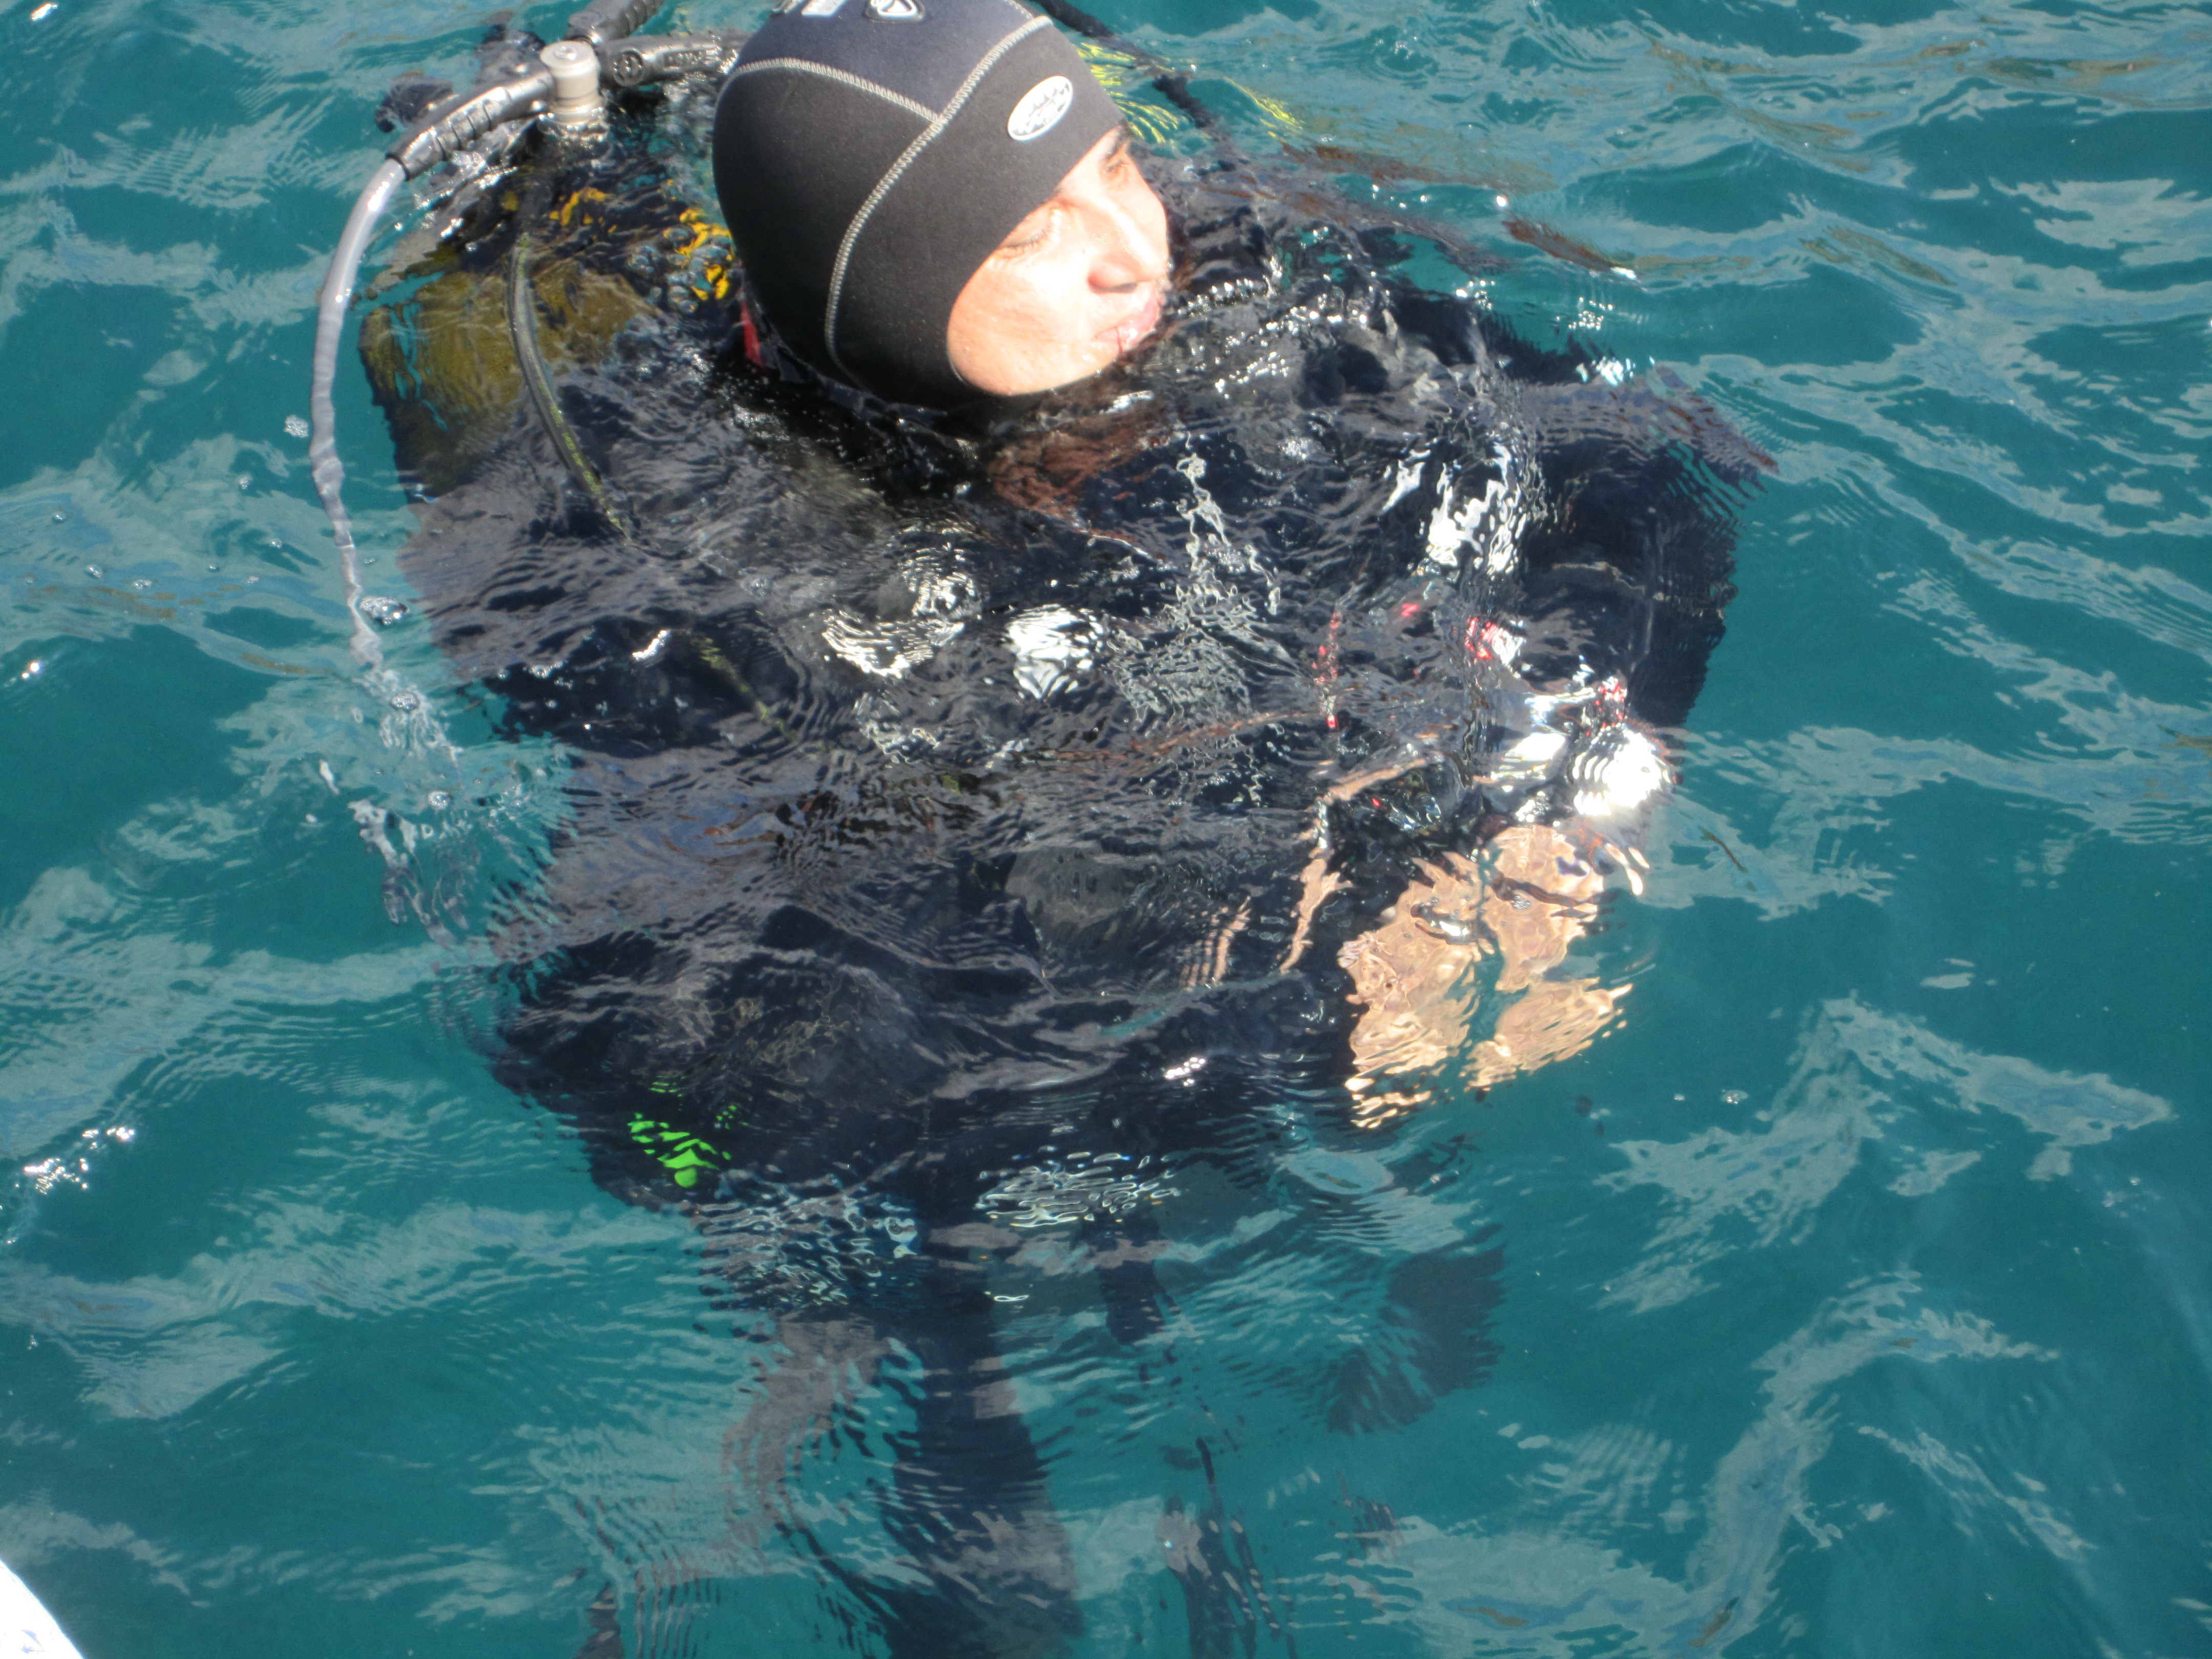
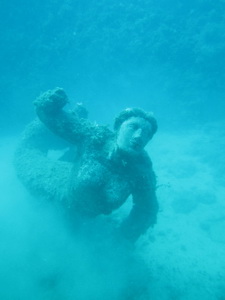
239
Dive Location:
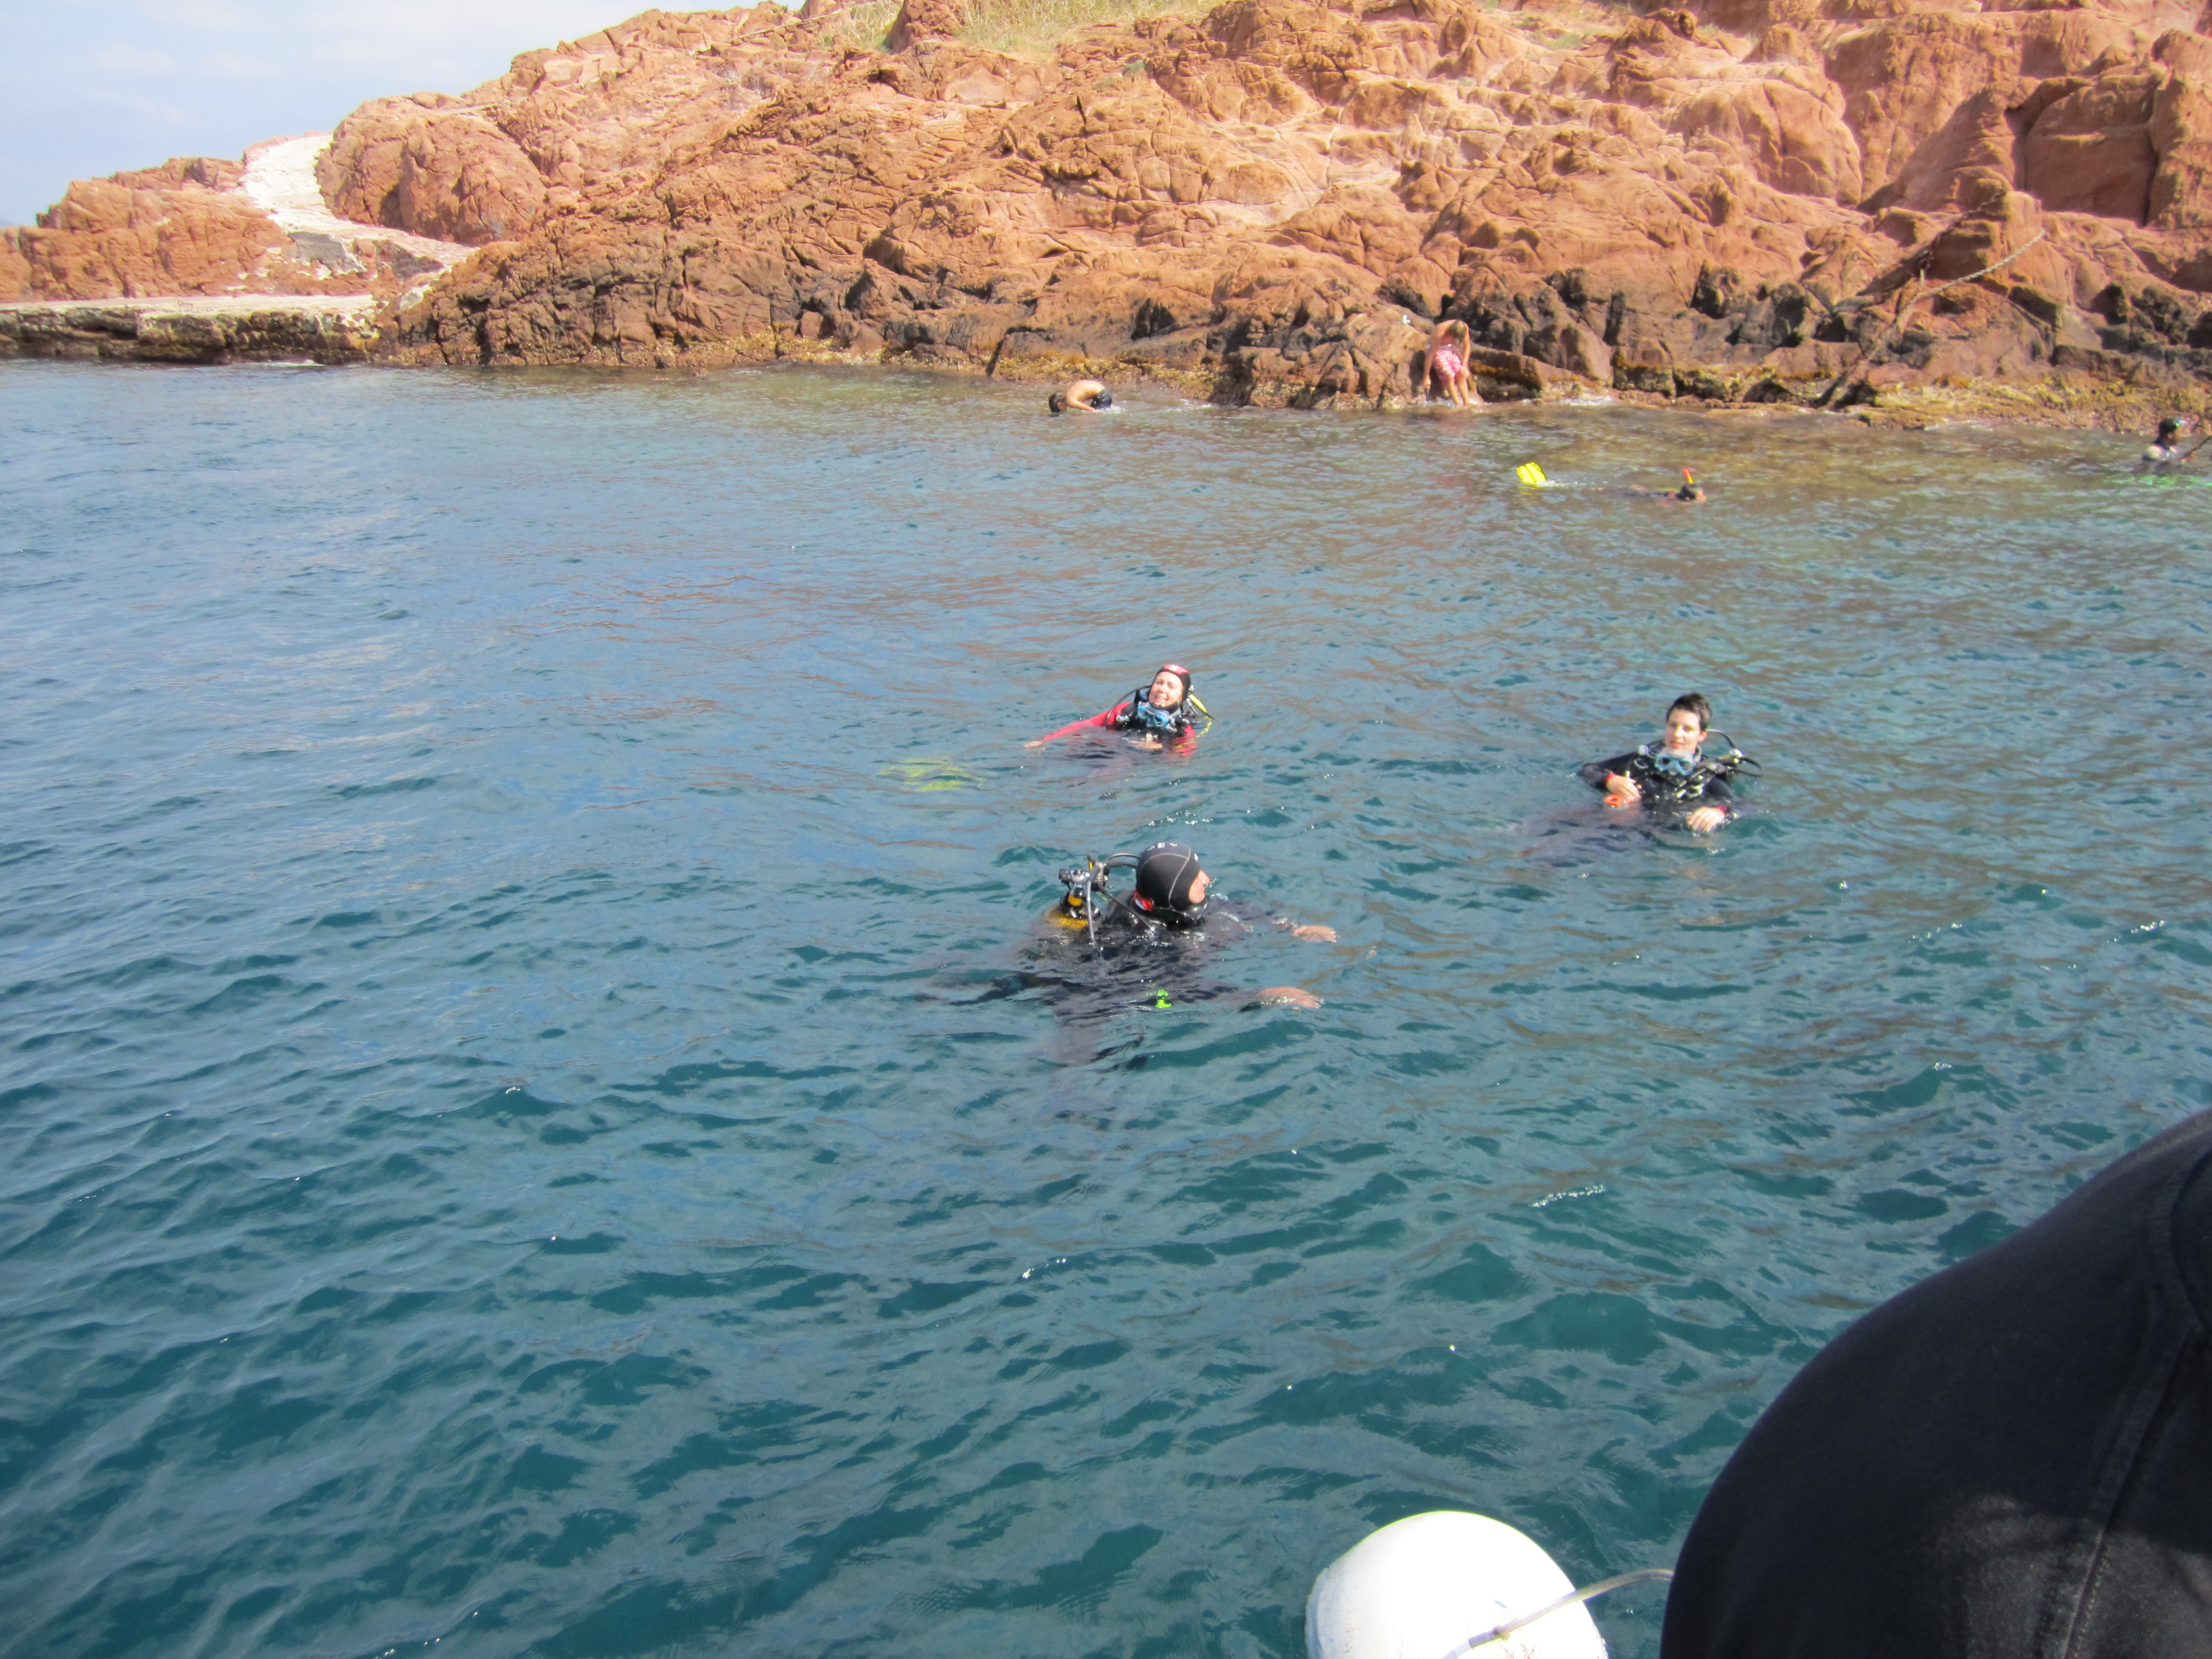
Ile de Bendor
bendor001.png
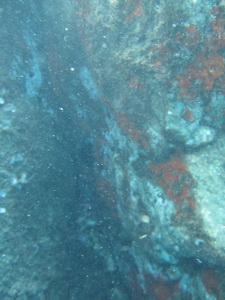
Dive #
239
Dive Location:
Ile de Bendor
bendor002.png
Dive #
239
Dive Location:
Ile de Bendor
bendor003.png
Dive #
239
Dive Location:
Ile de Bendor
bendor004.png
Dive #
239
Dive Location:
Ile de Bendor
bendor005.png
Dive Log
|
Dive Gallery
|
Dive Equipment
Dive Countries
|
Dive Cities
|
Dive Sites
Dive Statistics
|
Dive Shops
|
Dive Trips